
How to Wash and Detail a Car
Learn step-by-step how to wash, clean and detail a car inside and out, from vacuuming and scrubbing to washing, decontaminating and protecting the paint.
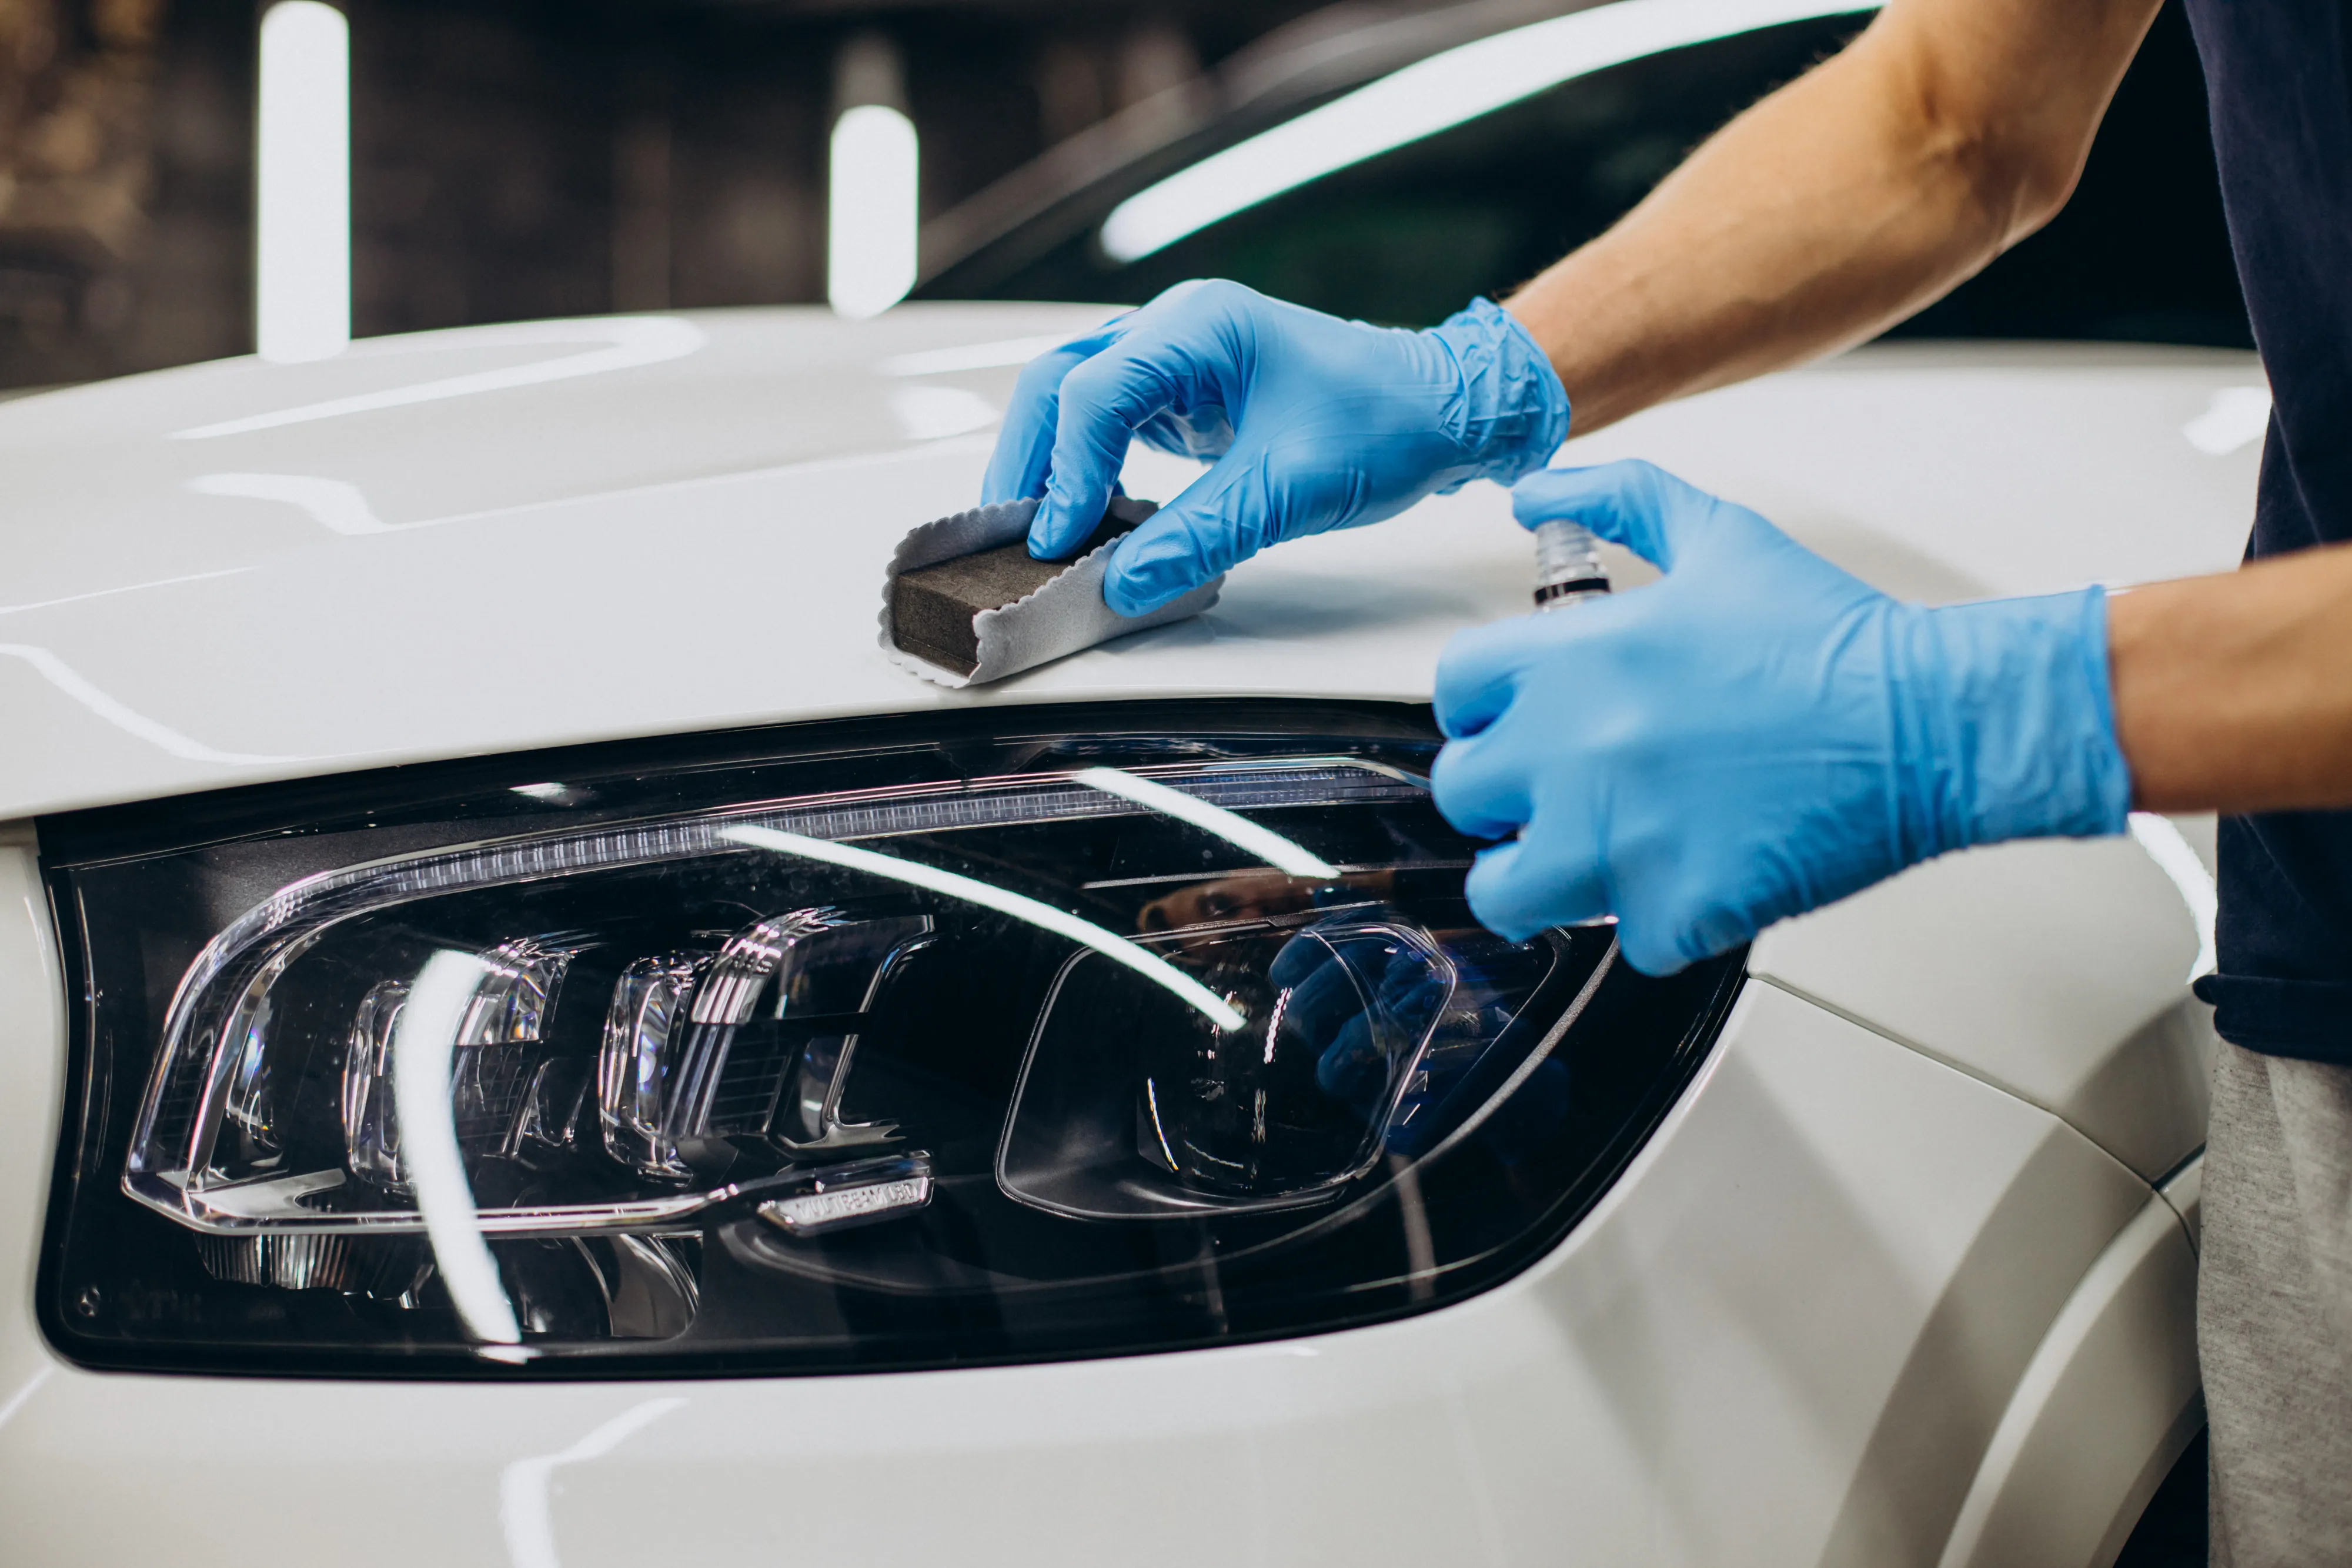
You can turn a dirty, neglected car into a clean, protected one by following a set order of steps. A complete interior and exterior detail typically takes about 3 to 4 hours, depending on the condition of the vehicle.
What you need
- Essential items: pH-balanced car shampoo, interior cleaner, microfiber wash mitts, a large stack of clean microfiber drying towels, a wheel and tyre cleaner, a wheel brush, a stiff interior scrub brush or pad, a vacuum cleaner, and two buckets.
- Optional upgrade items: a wet/dry vacuum, an air compressor or interior blow-out tool, a steamer, knee pads, an iron remover spray, a clay bar with clay lubricant (or a detail spray), and a ceramic sealant or wax.
- Note: the shampoo, mitts, towels, interior cleaner and a vacuum are the essentials for every job. The other items make heavy cleaning faster or give a longer-lasting finish, but you can start without them.
Safety first
- Wear safety glasses when spraying chemicals, shampoo or cleaning solutions, and gloves when using strong products such as wheel cleaner or iron remover.
- Work in shade, out of direct sunlight, so products don't dry onto the paint or interior surfaces before you can wipe them off.
- Wear knee pads when working in footwells or bending down to clean low panels for a long time.
- Test every cleaning product on a small, hidden spot first to make sure it doesn't stain or damage the material.
- When rinsing with a pressure washer, keep the nozzle a safe distance from the paint and follow the machine's instructions.
Step 1: Inspect and clear the interior
Start with a quick walkaround and look inside the car. Note any damage that's already there, such as scratches or marks, and any personal belongings. Then remove all rubbish and personal items from the seats, door pockets and cup holders.
When this is done correctly, the cabin is completely empty and ready for deep cleaning.
Step 2: Blow out cracks and crevices
If you have an air compressor or an interior blow-out tool, use it to push trapped dust and dirt out of the seat tracks, dashboard vents, seams and console gaps, and direct it towards the front footwells. Wear safety glasses while you do this. If you don't have one, use a soft brush to loosen dirt from the gaps and vacuum it up straight away.
When this is done correctly, hidden dust and grit are out of the tight gaps, so the vacuuming and wiping that follow are faster and more thorough.
Step 3: Vacuum and scrub the interior
Vacuum all the carpets and seats thoroughly. Then spray interior or leather cleaner on seats and trim and scrub stubborn dirt gently with a dedicated brush or scrub pad. Wipe away the lifted dirt with a clean microfiber towel. If you have a steamer, use it to loosen dirt in vents and panels, keeping it moving and away from sensitive electronics.
When this is done correctly, stains are lifted, leather feels soft, and surfaces are free of grease and residue.
Step 4: Wash the exterior
Clean the wheels and tyres first, using the wheel cleaner and a brush, then rinse them. This stops brake dust from splashing onto clean paint later. Next, rinse the whole car to remove loose dirt. Wash with shampoo and a clean mitt, starting at the roof and working down towards the dirtiest lower panels. Rinse the mitt often, and rinse each section with clean water before the soap dries.
When this is done correctly, dirt and road grime are gone and the paint is clean without scratches.
Step 5: Decontaminate the paint (optional)
This step is for removing grit you can feel but not see. Spray iron remover on the wet paint according to the product instructions and rinse it off. Then spray clay lubricant on a small section and glide the clay bar over it with light pressure until the surface feels smooth. Wipe each section with a clean towel and move on. Never use a clay bar on a dry surface.
When this is done correctly, the paint feels smooth like glass when you run your clean hand over it.
Step 6: Dry and protect the paint
Rinse the car one last time and dry it with clean microfiber towels so water spots don't form. Then apply a ceramic sealant or wax following the product's instructions, especially the curing time. Protection is what makes water bead on the surface and keeps the shine for longer.
When this is done correctly, the finish is glossy and water beads on the paint.
Common mistakes
- Washing in direct sunlight: soap and water dry instantly and leave stubborn water spots and streaks.
- Skipping the scrub: just wiping dirty leather or fabric with a towel won't remove built-up oils. Use a brush or scrub pad as well.
- Reusing dirty mitts or towels: a dirty mitt or towel drags grit across the paint and leaves swirls and scratches. Keep clean ones for each car.
- Washing from bottom to top: if you wash the dirty lower panels first and then bring that mitt up to the windows and roof, you spread grit over the paint. Always wash from the top down.
- Using a clay bar dry: without lubricant, the clay scratches the paint.
Your first step
- Gather your wash mitts, microfiber towels, car shampoo and interior cleaner
- Park the car in the shade and take all your belongings out of the cabin
- Vacuum the mats and seats to remove loose dust and dirt
- Mix a bucket of clean water and shampoo, and practise your technique on the roof
Turn this into income
You can offer this cleaning and detailing process as a mobile service to car owners in your area. To learn how to price your work, find your first customers and set up your booking page, read How to Start a Mobile Car Wash and Detailing Business.